Before
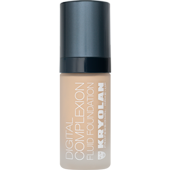
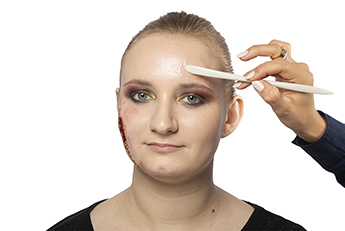
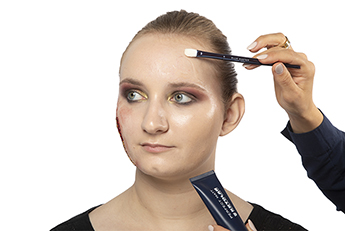
Before the actual effects make-up application, apply Digital Complexion Fluid Foundation to the face.
Before the actual effects make-up application, apply Digital Complexion Fluid Foundation to the face.
Step 1
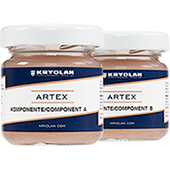
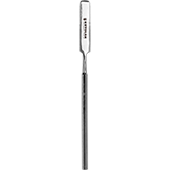
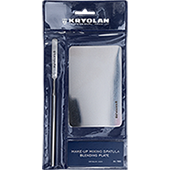
Mix the same amount of Artex components A and B (in a 1:1 ratio) on a Espátula y paleta mezcladora / Set. Use different Espátula para mezclar maquillaje so that the individual components do not harden. Build up the mixture on a selected area and let the edges blend into the skin as seamlessly as possible. While the Artex is still wet, create an opening in the center by removing the product with a Make-up Mixing Spatula. This creates a 3-dimensional impression of the wound.
Mix the same amount of Artex components A and B (in a 1:1 ratio) on a Espátula y paleta mezcladora / Set. Use different Espátula para mezclar maquillaje so that the individual components do not harden. Build up the mixture on a selected area and let the edges blend into the skin as seamlessly as possible. While the Artex is still wet, create an opening in the center by removing the product with a Make-up Mixing Spatula. This creates a 3-dimensional impression of the wound.
Step 2
Apply Perfect Matt to reduce the shine of the Artex wound and prepare it for the following make-up.
Apply Perfect Matt to reduce the shine of the Artex wound and prepare it for the following make-up.
Step 3
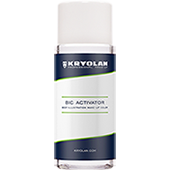
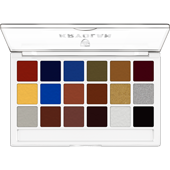
To color the wound and surrounding area, apply Body Illustration Make-up Color Paleta de 18 colores (FX) in the shade 080 with a Esponja porosa de caucho and brush. The colors of the above palette must be mixed with BIC Activator to create a translucent veil of color for a more realistic effect.
To color the wound and surrounding area, apply Body Illustration Make-up Color Paleta de 18 colores (FX) in the shade 080 with a Esponja porosa de caucho and brush. The colors of the above palette must be mixed with BIC Activator to create a translucent veil of color for a more realistic effect.
Step 4
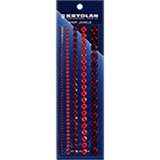
Decorate the wound with Body Jewels (red). To make them stick better, apply them with Lash Adhesive Pro 4 g and adhere the individual stones in random clusters and in different sizes.
Decorate the wound with Body Jewels (red). To make them stick better, apply them with Lash Adhesive Pro 4 g and adhere the individual stones in random clusters and in different sizes.
Step 5
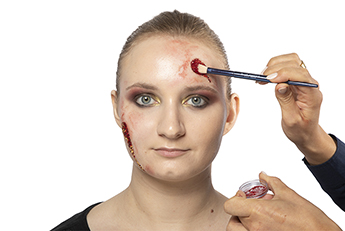
Now apply Hydro Spirit Gum 12 ml to the wound and press on a mixture of Polyester Glimmer fino (bright red) and True Nature Glitter (red).
Now apply Hydro Spirit Gum 12 ml to the wound and press on a mixture of Polyester Glimmer fino (bright red) and True Nature Glitter (red).
Step 6
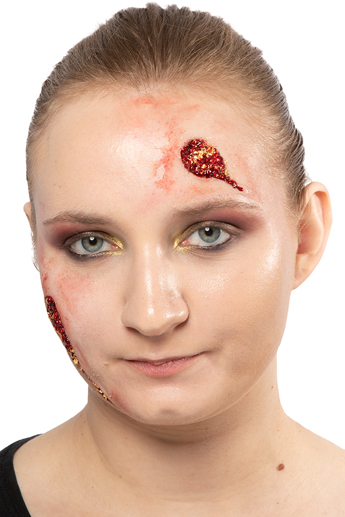
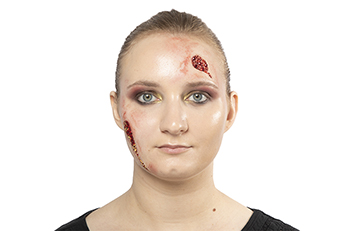
Next, press on Metallic Micro Flakes (gold) with a fine brush and carefully work in more Body Jewels.
Next, press on Metallic Micro Flakes (gold) with a fine brush and carefully work in more Body Jewels.

Step 7
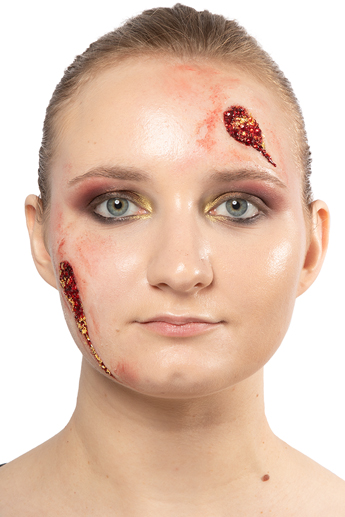
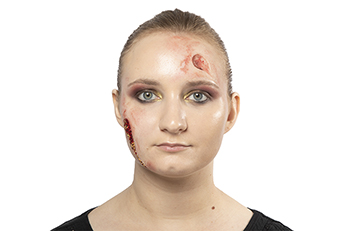
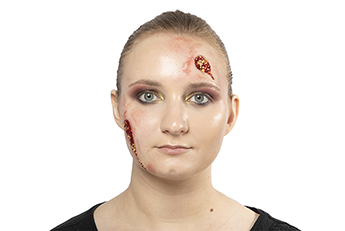
Finish the wound with Supreme Blood External 50 ml (dark). Apply the fake blood with a small brush to ensure that the application does not exceed the embellishment.
Finish the wound with Supreme Blood External 50 ml (dark). Apply the fake blood with a small brush to ensure that the application does not exceed the embellishment.